It is always a best practice to render a complete sample of the finish first before
committing to an entire room.
First Coat
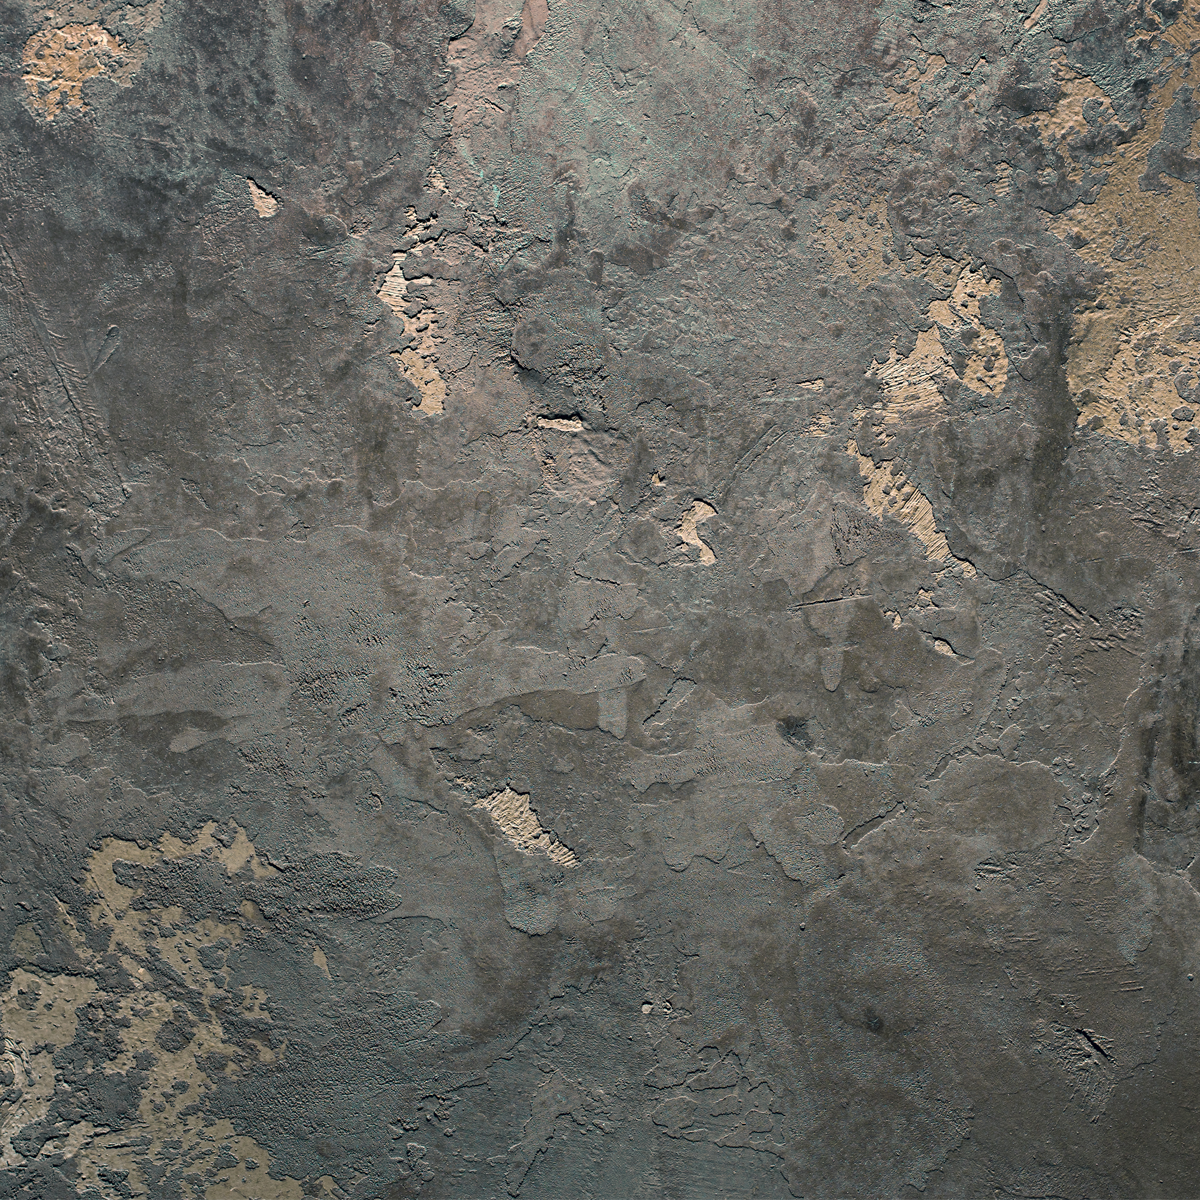
For a high-polish finish, apply a full coat of Venetian Plaster on the wall first.
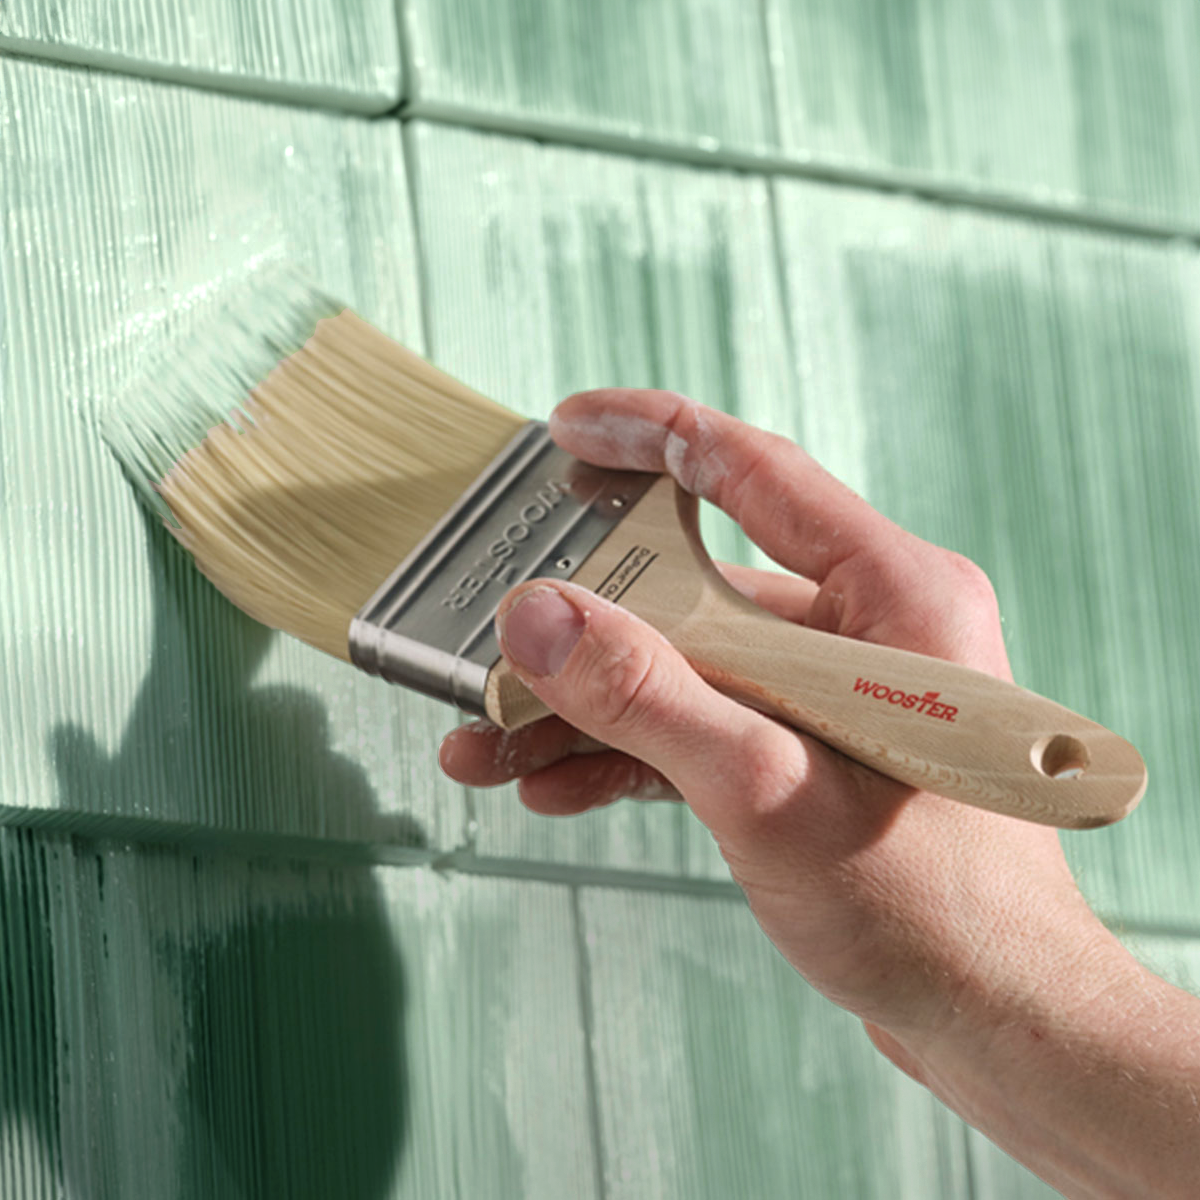
Using the 3” spatula to dip into the bucket and feed the application tool, use the
trowel or taping knife to apply the first coat to a thickness so that the paint/primer is completely covered. Apply as thin and as smooth as possible as long as the
coverage is complete. This product is fairly opaque so a thick coat is unnecessary. After the plaster starts to set (no longer shiny) take a clean trowel or
blade and with a firm pressure, push down any remaining ridge lines. Let dry. If
crazing occurs, leave alone and the 2nd/3rd coat will cover.
Second Coat
After the first coat is free of dark spots (about 3 hours), sand down any ridge
lines or trowel marks using 320 grit or higher sandpaper. Use a slightly damp
cotton rag to thoroughly dust off the surface.
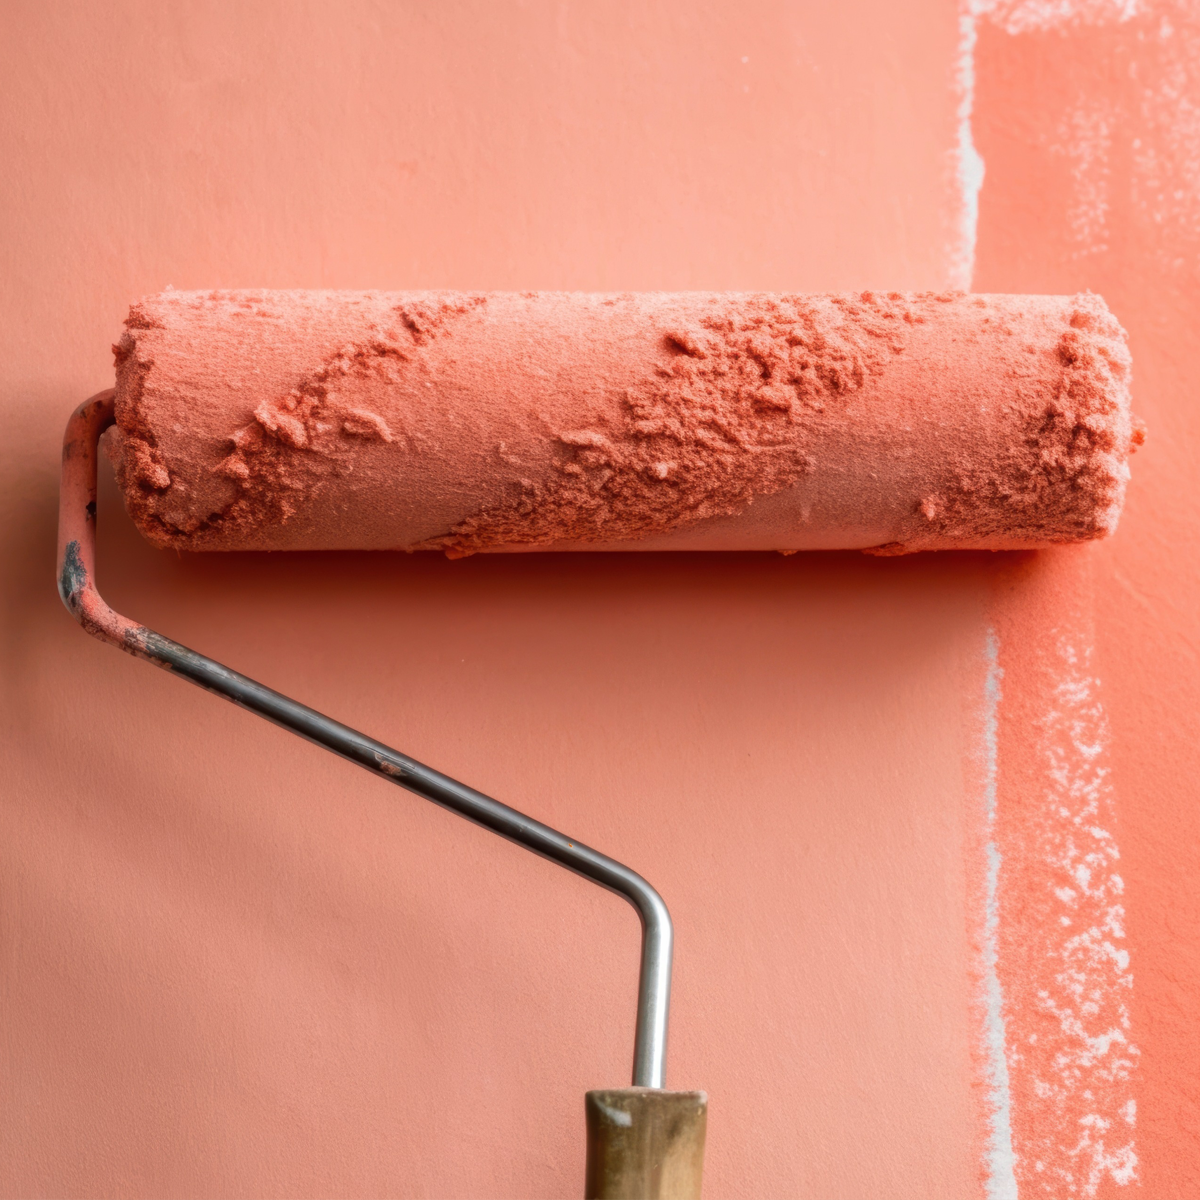
Using only a small amount of plaster at a time, apply it very thin and in short
strokes. Continue across the surface until the entire area is covered. Be careful not to over work the surface or blisters will appear. If they do, leave them alone and they will go back down.
Third Coat
After the 2nd coat is completely dry, apply the plaster in the same manner as the 2nd coat, but as thin as possible. This is where most of the movement and visual
texture of the plaster comes from. When the plaster is almost dry, use the
clean edge of the trowel to burnish the surface. Lean into the trowel and ride the
bevel of the blade without digging into the Venetian Plaster. Start with a pulling
motion until you get a feel for the plaster and then you can both push and pull the
blade over the plaster to create a burnish. Keep the blade clean!
If water resistance is required, apply 1-2 coats of GPW Glazing gel. Add Matting
additive to the glazing gel to reduce sheen. Start with a 1:16 ration of Matting
Additive to Glazing Gel
Repair and Cleaning
Sand off black marks and surface contamination first with a 400 grit
sandpaper, followed by a 600 grit sandpaper. Wipe off dust and lightly
polish with a steel blade.
Finish Cleaning
Wipe off dirt or stains with just clean water and a cotton rag. Use very little pressure. Some material will come off on the rag but let dry and lightly polish with a steel blade and it will blend in.
Patches
Fill holes up to level with patching compound. Sand it level with the
surrounding surface and feather off into the existing plaster. Spot prime just the
repair. Let dry.
Apply 2 coats of new plaster that is the same color and feather off the edges. Let
dry. Use 400 and then 600 grit sandpaper to level and burnish the plaster
and edges to blend in with the existing plaster. Wipe off dust.
GPW strongly recommends that specifiers require applicators to prepare a
benchmark sample in accordance with PDCA P5-94 "Benchmark Sample
Procedure for Paint and Other Decorative Coating Systems."
Topcoat
If applied in a high traffic or high moisture area a topcoat is recommended. For a
low-gloss sheen, use GPW Protective Sealing Wax. For a high-gloss sheen, a
solvent based wax, such as Black Bison Wax by Libéron is recommended, or
GPW Glazing Gel. For bathrooms or kitchens, a solvent-based topcoat is
recommended.
Any topcoat will have an impact on the look of the final finish, so please test your
application on a sacrificial piece first, to ensure you are comfortable with the
results.