Smith’s Hi-Wear 90S is strictly a finish topcoat product intended as a very thin film of 3 mils in a single layer which foams when applied too thick. Any imperfections, sanding marks/swirls, scratches, gouges, etc. that can be felt by hand or catch a fingernail when pulled across the area in the prior layer may transfer through this finish due to the minimal thickness of Smith’s Hi-Wear 90S in a single coat application. Minor surface defects are purely aesthetic which pose no threat to the longterm performance of the coating system.
Once mixed, immediately pour Smith’s Hi-Wear 90S into a tall paint tray, such as a Wooster® Wide Boy™ 5-gallon paint tray.
DO NOT POUR Smith’s Hi-Wear 90S onto the floor then spread!
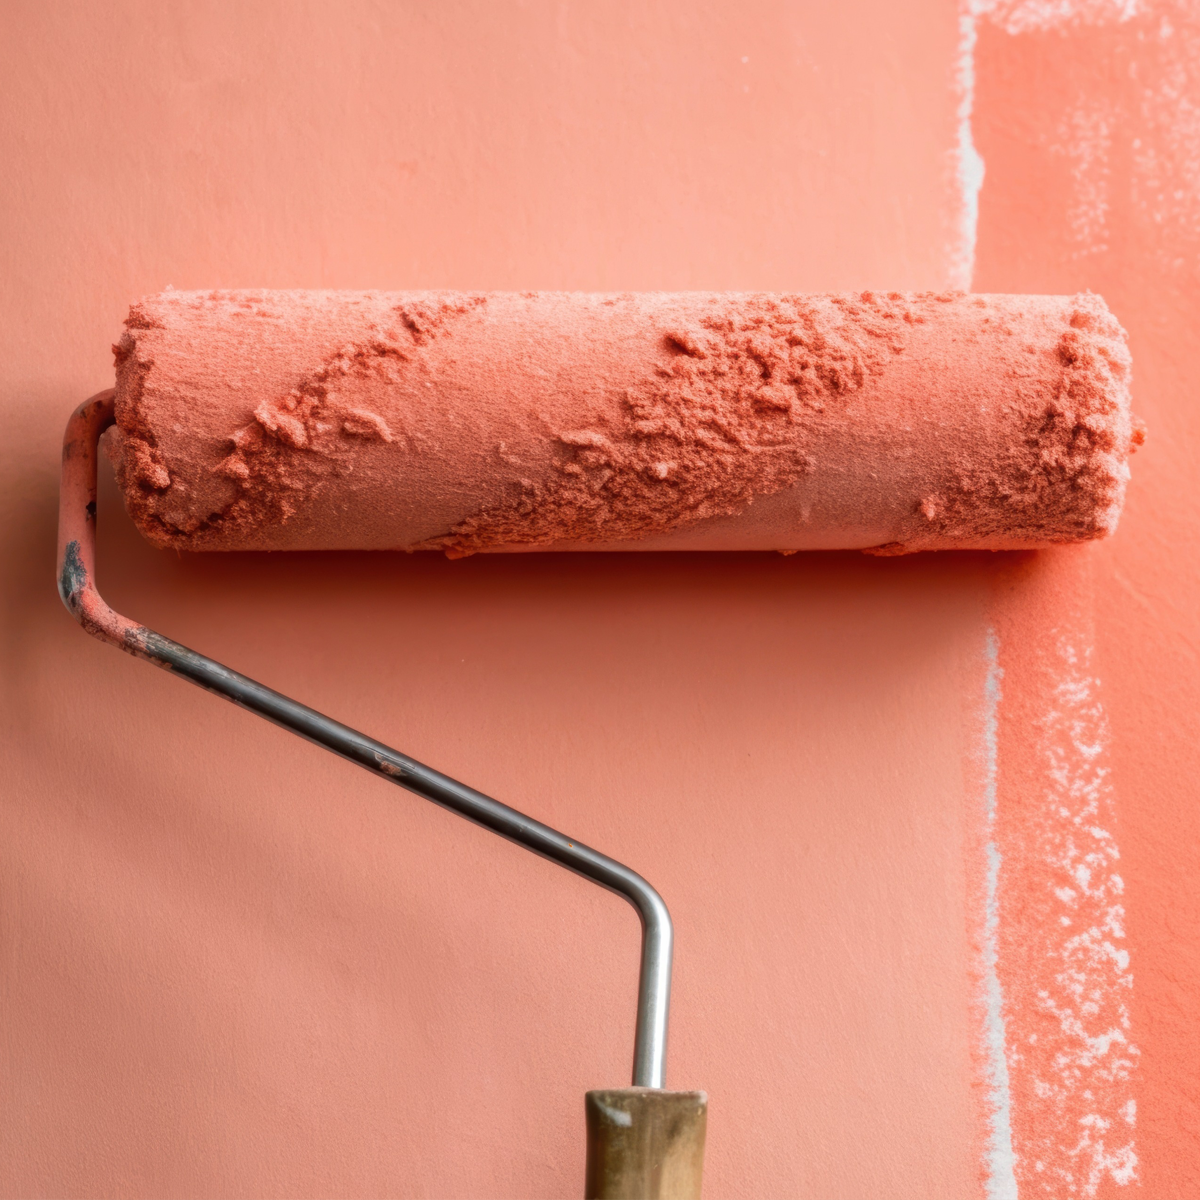
Dip the 3/8” nap roller into the mixture to coat the roller head then roll off any excess into the paint tray avoiding liquid build-up on the sides of the roller caps and/or the frame. Avoid dripping Smith’s Hi-Wear 90S during placement on the floor as the fillers will concentrate in the drip & may not evenly disperse while finishing the coating.
NOTE: DO NOT TURN THE MIXING VESSEL UPSIDE DOWN ON THE SUBSTRATE TO ALLOW THE RESIDUAL PRODUCT TO DRAIN ONTO THE
FLOOR TO AVOID THE RISK OF ANY UNMIXED OR NON-THOROUGHLY
CATALYZED PRODUCT FROM THE SIDES & BOTTOM OF THE MIXING VESSEL
FROM REACHING THE FINISHED FLOOR.
Best practice is to pour the mixed contents into a paint tray then dip & roll onto the substrate when applying Smith’s Hi-Wear 90S. Roll out two parallel pathways roughly 8 to 10 feet in length. Then rewet the roller & repeat.
Next, cross roll in a V-shaped pattern starting at one of the lines on the end working across the area while overlaying one side of the roller to connect & evenly place Smith’s Hi-Wear 90S ensuring a uniform film thickness.
Finish by extending the roller out to the furthest point of this area and pull back across the surface with light pressure in a straight line to remove roller marks & overlap each pass by 1/2” continuing across the entire section.
Occasionally use the roller cover to remix the filler into the liquid in the paint tray. Ideally every 20 minutes. On larger projects, it is recommended to have a separate person perform for each stage of the product placement, V-roll & finishing process to ensure productivity & a uniform appearance to avoid roller lines. If the appearance is less than unsatisfactory, repeat the finish rolling process again until a satisfactory appearance is achieved. Continue until the entire area desired is topcoated & allow to cure.